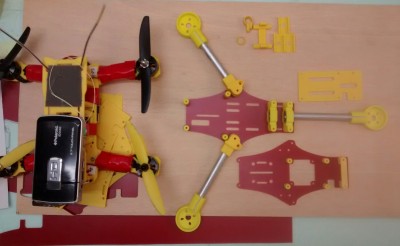
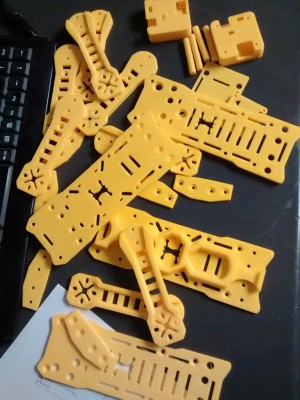
..and a whole new world opens. This has been a project, both rewarding and frustrating. but I have learned a lot, and at present I am able to make quite acceptable printed parts. Of course this whole thing of 3D printed parts means you have to learn how to fit those parts into the modelling universe. Over the years you have build up a good feeling of material properties that work in different scenarios. This plastic stuff requires you to learn new tricks. On the one hand you seem to be able to make very complicated parts, but on the other, you find that the materials properties degrade very fast with higher temperatures. But it will be great to make little bits and pieces, as you need them for traditional moddeling applications.
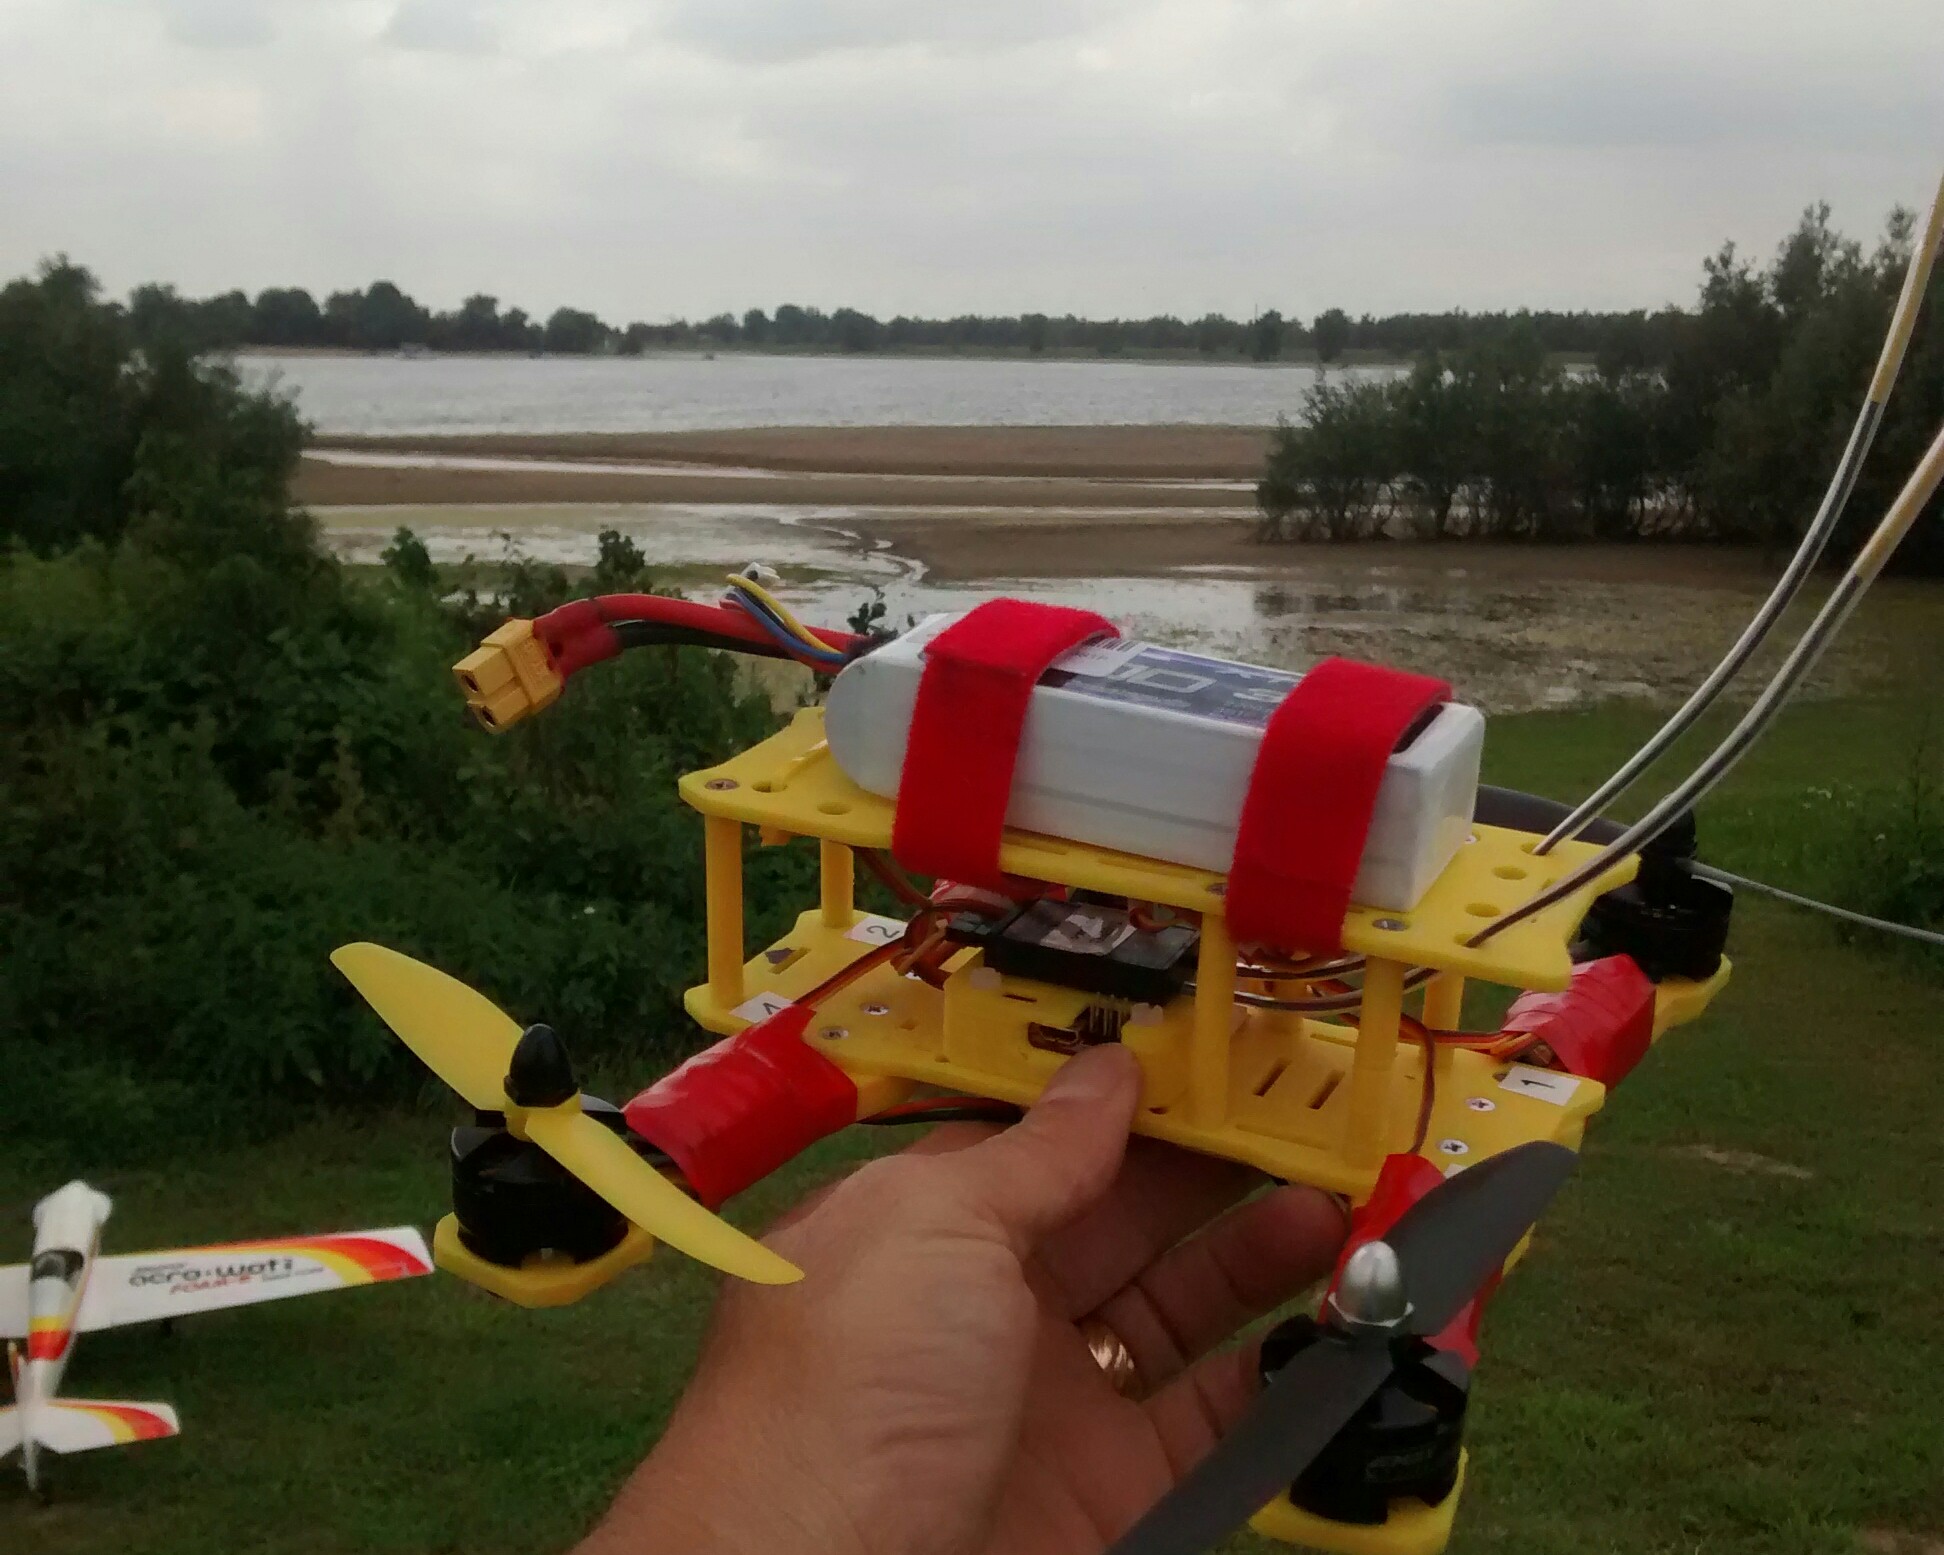
To start off I build a quadcopter. This is a PEON230 which I found on thingiverse.com. Seems a rather straightforward project. I choose to use a NAZE32 as the controller, running Cleanflight Kamikaze software. (As in the latest stuff, guaranteed to have bugs 😉
So far I have had 2 destructive crashes, both from 30 meters high. 1st one happened on the first flight (of course) because I lost orientation. The quad is rather small and at 100 meters it was hard to see which way it went. Rather then ending in the drink, I thought it safer kill throttle. NotGood when you fly a quad. Ah well, one has to learn! I have since added some LEDS from a led-torch to help me see which way we go.

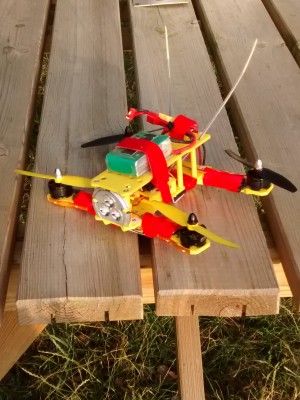
Damage was actually minor, the top plate where the battery is mounted, cracked. I had printed it with 20% fill, obviously not enough! Since then I have had approx 5 hours airtime, and no major mishaps until last Sunday. I had been messing with my PID settings, and I thought is was a good idea to increase signal-loss RPM. supposed to prevent a fly-away when you loose signal. Somehow the opposite happened, it took off like a homesick angel, until I recovered from my shock. By then it was going towards the water, and much as I like a nice swim, I did not fancy taking any chances. So I chopped the throttle, this time knowing I was asking for a solid crash. However, the damage was again minor. Both the upper and lower support plates were cracked, (by the weight of the battery) but the arms were all ok, and no other damage was done.
The great thing about 3D printed parts is, is something breaks, you just fire up the printer and you get a fresh part! So after some minor disassembly I have now copter #2 in the air, looks the same as #1.
I’ve also started the construction of a tri-copter, looks like that is mechanically a bit more of a challenge. As always, in the beginning (the first few projects) you use what is there, then you start to modify the designs, then you make your own. The Brocopter (google Thingiverse) uses a servo to rotate the rear arm, the construction to rotate it is not exactly something I would trust, so this is the first part that needs redesigning.
