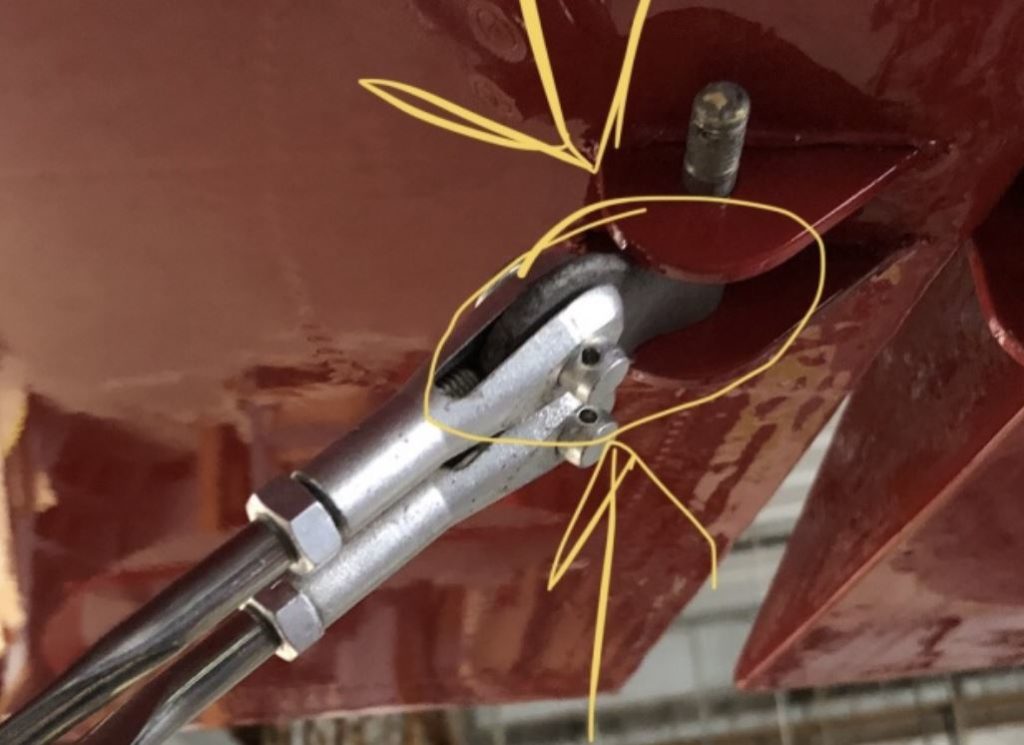
It is always a good thing when the magic red lines end up where they should..
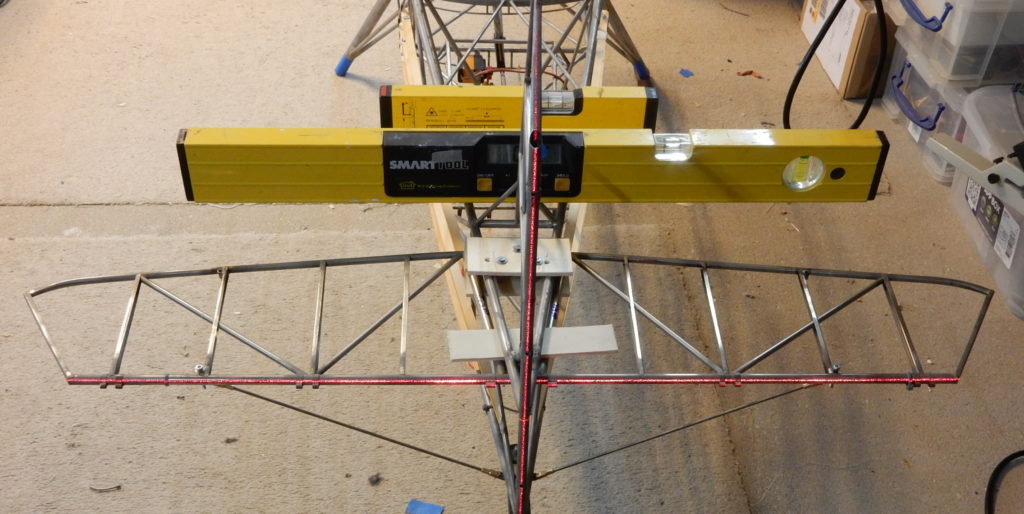
Making the bottom bracing means you have to get everything lined up properly. You don’t want to start pulling this out of whack. Since I went through all the trouble making the clevises, I might as well use them. Officially the stab side is made by drilling a hole in the flattened streamline tubing. Guess no one will know except me (and you). It is also easier at the moment to make them that way, so that I can slip the streamlined ABS tubing over the 3mm rod.
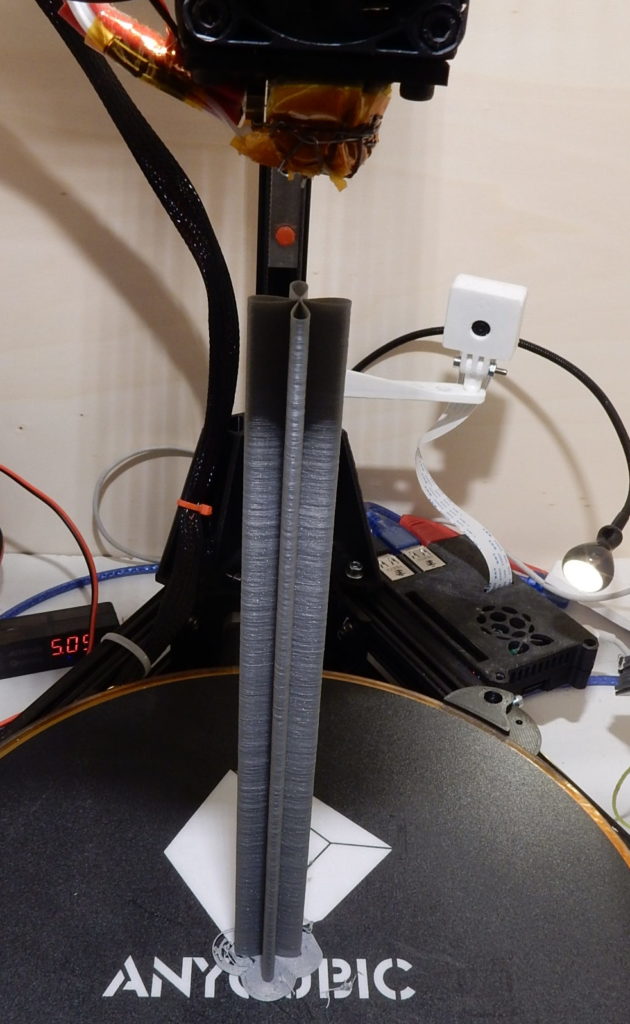
In order to give the plastic some time to cool down and to provide some stability, I print a ‘cloverleaf’. The ends are barely touching, it comes apart very easy. First trial looks good. The texture looks quite rough here, but a small amount of sanding smooths things out in no time at all. I still want to add a layer of glass, and tidy the ends to make it all look very much like ”scale”.
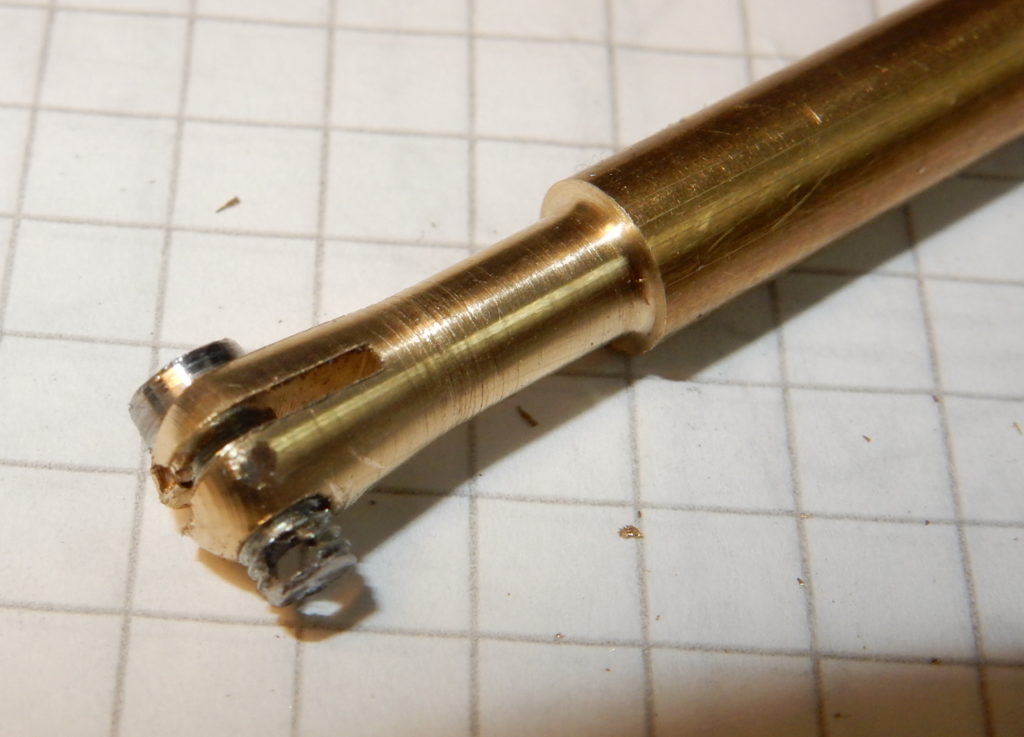
Also made a slightly different version, this one has a tapered front section. It looks nice too. I only flattened one side, where the screw goes, that leaves a bit more flesh for the thread on the other side. In the picture above I drilled it for a 3 mm bolt, reduced the bolt-head to 3.9mm, so it sinks into the top bit. Anyway, 3mm is too big for a 6mm rod, but the idea is good. (Since I now have the lathe setup better, the results are better too. Not good, not machinist good, but hobby good enough for the job. I drilled the 3mm screw with a 1.5 mm hole, in order to put a locking pin through. Yes, too much work. I agree (for now)