
Just so I remember the sequence of work next time around.
Make sure you have the proper radius tool to make the nose radius. I had to make my own, which was not as hard as it sounds. Just take you time with the dremel. This was an old tool that I (ab)used for this purpose.
Drill a square piece of alu/brass or whatever with a 6 mm hole so that you can securely put the brass rod in the tool holder. Since I don’t have a 4 way chuck, mine was drilled off-center but that does not matter. Tap a few holes for M4 bolts to hold the brass rod. The are other methods to do this, I simply show what I did, not because it is the best method.
Cut a piece of 6 mm brass approx 20 cm, that way you can make ca 10-12 pieces at the time.
Drill the 6mm rod with a 2.5 mm drill, at least 20 mm deep. This will be tapped to M3 later. (If you have a 2.4mm drill, you should use it, 2.5 is slightly oversize if I remember correct)
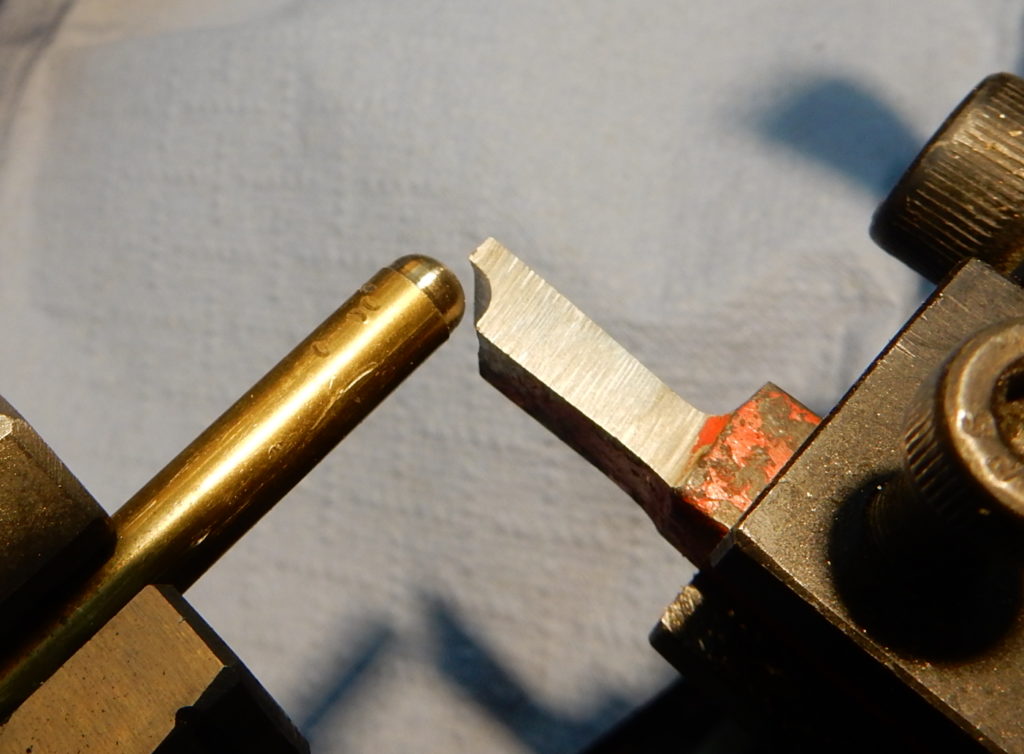
Round the nose with the specially radius-ed tool. You need to do this before cutting the slots. Believe me, this will work better.
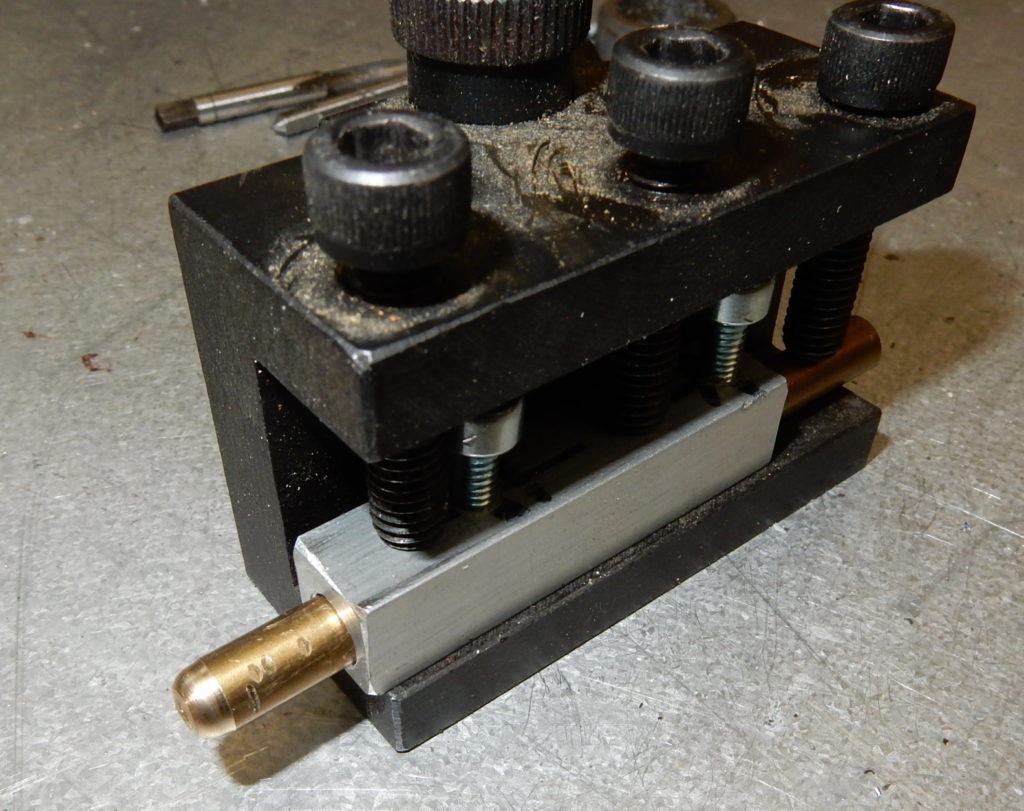
Next transfer the rod to the aluminum holder. I want to cut ca 10 mm on both sides, so make sure it sticks out ca 12 mm.
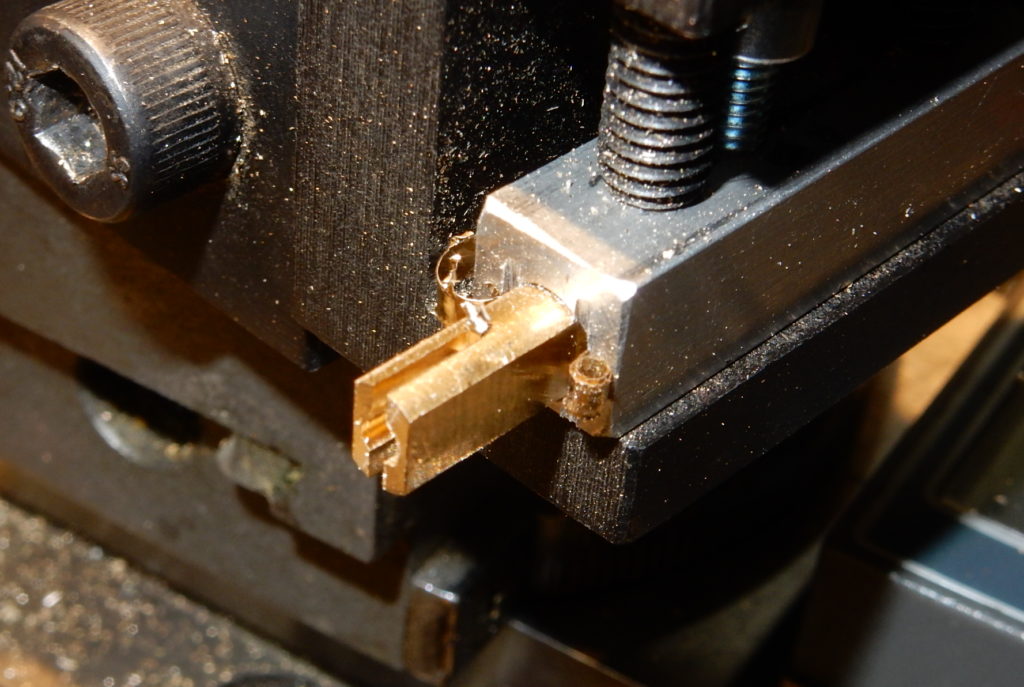
Now comes the trick: make sure the outside of the blade lines up exactly with the outside of the brass piece. You only want to cut a saw’s width off the sides. Run lathe at a fairly high speed, and feed slowly. You really want the blade to cut. Repeat on the other side. Next eyeball the blade in the middle and make a 6-7 mm deep cut.
Insert the rod in the chuck again, and reduce the backend to ca 4.5mm.
Use a bit of fine sandpaper to rub off and smooth any bits that don’t look good. When done and happy, part at a total length of 17mm.

I tapped the holes with M2, and will install proper steel bolts when all is done.
These few bits took you all day? Yeah, but I did disassemble and clean up the lathe as well, There was some play in the cross support that was hard to get rid off. It’s all good now 😉 (look at mini-lathe.com for guidance)