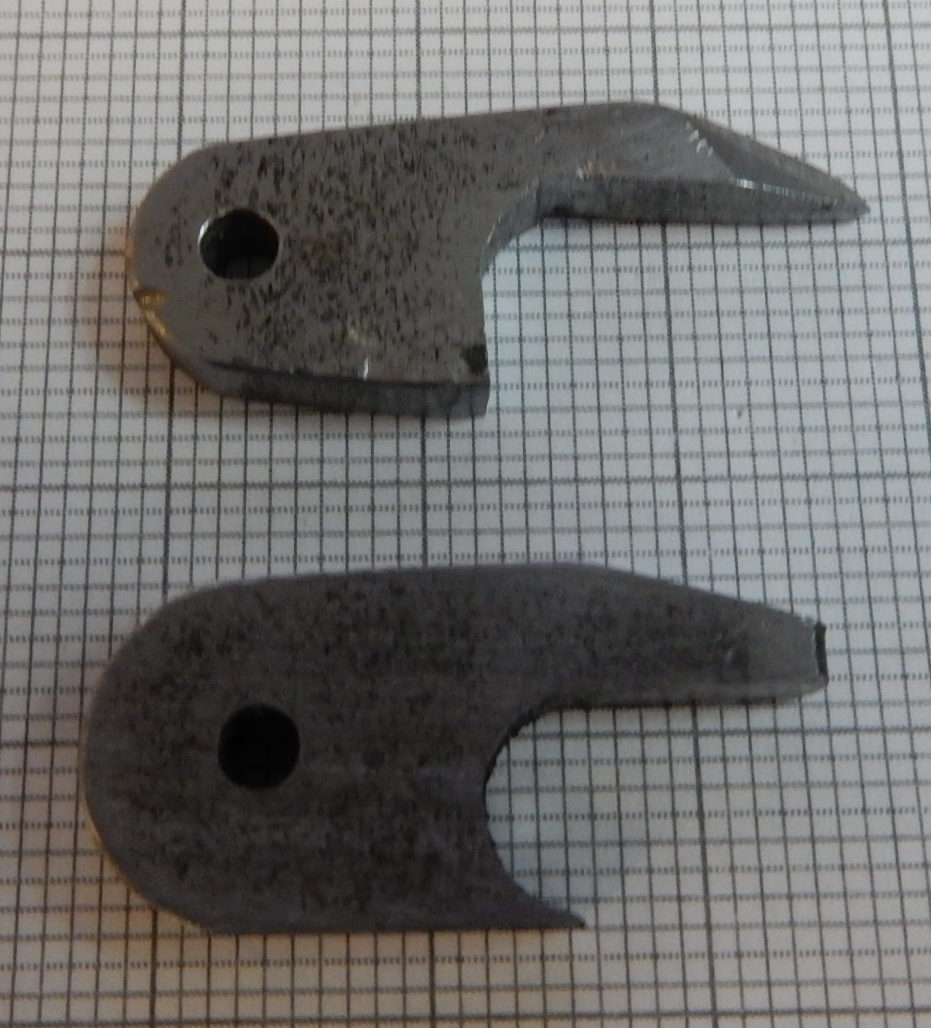
I’m going to make one post a week, and add all the stuff I do in this post. Unless I change me mind.
I wondered how long I have been working on this: looks like first metal was cut in June 2019. Not bad.
Before going too far I thought it would be a good idea to see if the wing still fits. Since it is a nice pleasant day, it was a good moment for a selfie.
using this image to see if things are square.
There is some work left on the aileron, once that is done, I’ll do the root rib. Somewhere in between I also have to build the servo/linkage/bellcrank.
Sounds like another fun week coming up!
challenging to get the shape rightthis is not the same type of plane, but of similar origin/construction
After glueing the trailing edge wood (not shaped to final yet!) it was time to do a bit of tube-bending. It’s 4 mm tube, and for the life of me, I don’t know why it is so soft. Almost feels like copper tubing. Never mind, just try to match the shape.
bend wood and bend tube
Trying to hold the camera at just the right distance and level is probably easy if you were to create a support. Maybe one day? I just needed to get the tip shape lined up with the trailing edge, and make sure the lines ‘flow’.
A quick copy paste on the original drawing makes it look close enough. There is some distortion in the camera, the rib distances are correct.
Good enough to carry on!
it matches well enough.
In the meantime I’m making more ribs, more trailing edges, more of everything. But that has all been documented, I’m not repeating it 😉
The ribs trimmed to size (sort of) Even at this stage the wing is very stiff. Normally in a balsa/built up wing, it is pretty easy to twist the structure. Due to the way the ribs are built, there is an decent amount of torsional stiffness, even at this stage. Next I have to make the root rib and tips ribs.
Next maybe the aileron, since that takes quite a bit of additional mechanical work. The TE can be added as the last bit. so that there is a nice curve along the ribs.
I’m still thinking about the tubular bracing in the wings. I don’t really need it. If I change my mind I can add it at the end. I will save quite a bit of weight, is there just ”because the original has it”. The leading edge covering will provide enough for-aft stiffness.
For my own reference: ribs are slightly under 10 grams before trimming to length. The whole wing at this stage is 335 gram, that’s including some metal. What the target weight is? No idea to be honest, I would think around 700-800 gram all ready. But up to a kilo for each wing will be ok, I need the weight!
If in doubt do it the Paolo way 😉 . Success guaranteed!
cap-strips added
The full size cap-strips for the ribs are 1/4 x 1/4 pine. Scaled down that translates to 2.12 mm square. That is just too small for my fingers.
The plywood I have (that lite-ply) is 2 mm. I have nice 2 mm mill bits. (Not great for wood, but it works). Some time later, I have found The Way to Do it.
Mill a groove in the 11 mm strip, offset from centre (don’t ask where I got 11 mm, that’s what it is, came from some “Imperial” country. Supposed to be 1/2″), turn it around, same again, and last, run a deeper groove in the centre to cut it into 2 halves. Bingo, nice cap-strips.
Next I probably need to make a jig so I can glue the cap-strips on the ribs. (40 odd ribs.) en in general get busy. Once the glue dries, I can (if needed) sand the cap-strips down a bit, looking for no more then 3 mm wide. I’ll leave the height for now as is, it will give me some room to play with during the final assembly.
The vertical rib stiffeners are just scrap, probably do them in thinner ply. Joining the mains and aft spar requires triangular pine blocks, again, by the time you scale things down, they are small. I think I have a cone bit somewhere, I will try to make the blocks the same way as the cap-strips, mill a groove and chamfer the side..
Ouch, almost got myself in trouble. The cap-strips run all the way from LE to TE !! Even though the nose section of the wing is covered with plywood! Good to check, and check again. Which means I have to make the ribs complete, and slide them over the spars. No problem, but it shows you got to pay attention.
2 mm grooved cap-strips, can be sanded to size once glued to ribs.
With the wing spars ready, it’s time to start thinking about the ribs. On these wings, nothing is straightforward, every rib looks different. (which gives it those nice wings 😉
Luckily the designer was smart enough to keep all the ribs up to the aft spar the same, so the only difference is the rear section of each rib. Which means, after I sorted the profile, I decided to make some test ribs to see how it all looks.
These are really just for testing, the wood is something called lite-ply, which to be honest is pretty useless. It’s as light as balsa, but warps by just looking at it. Been carrying it around for 20 years, so time to get rid of it!
The profile is approx 13%, I might thin it down slightly, I think 12% will still fit. It’s roughly a NACA0013, so 12 will do just fine. Or 12.6, or something.. I’ll think about it. Have to make sure the servo’s fit as well!
AcrodusterComments Off on Wing & u/c attachment hardware
Aug182019
The plans call for square tubing for mounting the wings, but you guessed it, not available in the size I want, not even close. Here I have to deviate from the plans and make something that will look the same, but is something I can make. At stations 31 and 51 I added the normal tubing cross bracing. Then I made some solid steel supports that look like the original. I use short pieces of steel. Later I will put a false ‘square’ cover over the visible bits in the cockpit area.
I’ve always been reluctant to start milling steel, but actually, if you take it slow, it goes quite well! (surprising myself here.) This stuff is plain cheap ironbar, I will have to try stainless steel as well, but that is probably a different game. Time will tell. (Note to self: This was done with a 2 mm bit, @300 mm/min, 0,1mm layers. Probably can go larger on the layers, but I need to do something about cooling, since WD40 is not that great as cooling liquid.) Looking at the parts you see that the toolbit vibrates, it creates an uneven surface. However, using a 2 mm bit is really pushing things. I will need to study this subject a bit more!
bottom right made by human, rest by machine. lower wing attachment point
While I was at it, I also made the support for the LG-front attachment point. By using 2 mm parts I get enough strength, and I can easily cover the gap between the supports with a 0.2mm strip. The rears support consists of triangular gussets. Again a milled part will be the real support, gussets will/ might be added to make it look nice.
main LG tube will attach here.5mm tube is for alignment, center to be removed once it is all fixed.