If in doubt do it the Paolo way 😉 . Success guaranteed!
The full size cap-strips for the ribs are 1/4 x 1/4 pine. Scaled down that translates to 2.12 mm square. That is just too small for my fingers.
The plywood I have (that lite-ply) is 2 mm. I have nice 2 mm mill bits. (Not great for wood, but it works). Some time later, I have found The Way to Do it.
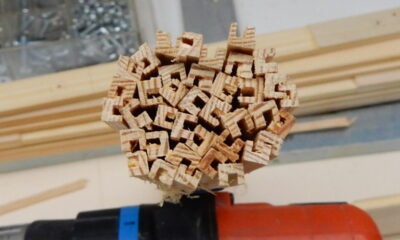
Mill a groove in the 11 mm strip, offset from centre (don’t ask where I got 11 mm, that’s what it is, came from some “Imperial” country. Supposed to be 1/2″), turn it around, same again, and last, run a deeper groove in the centre to cut it into 2 halves. Bingo, nice cap-strips.
Next I probably need to make a jig so I can glue the cap-strips on the ribs. (40 odd ribs.) en in general get busy. Once the glue dries, I can (if needed) sand the cap-strips down a bit, looking for no more then 3 mm wide. I’ll leave the height for now as is, it will give me some room to play with during the final assembly.
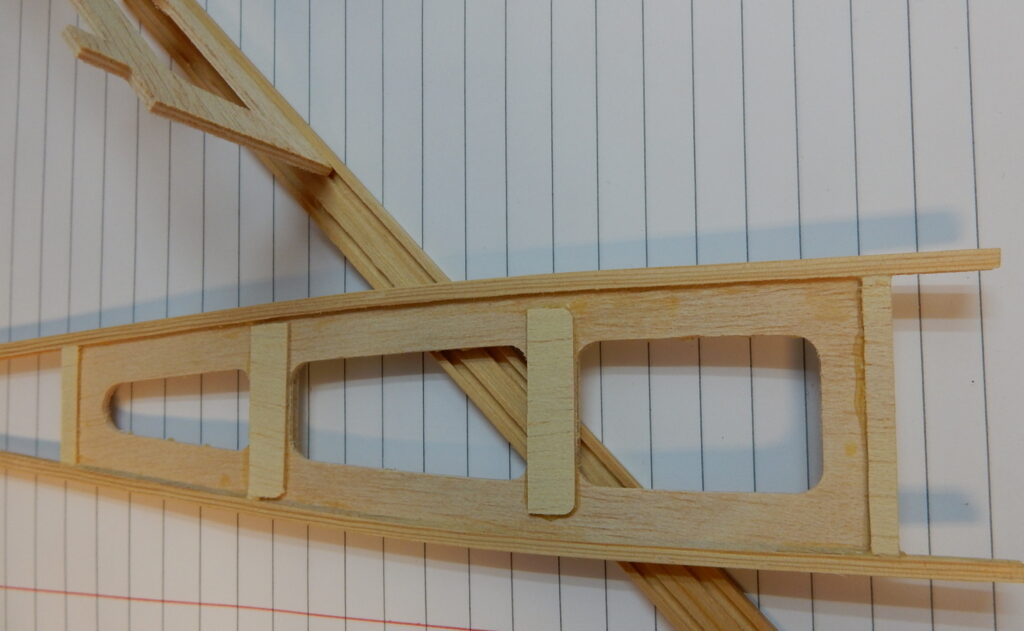
The vertical rib stiffeners are just scrap, probably do them in thinner ply. Joining the mains and aft spar requires triangular pine blocks, again, by the time you scale things down, they are small. I think I have a cone bit somewhere, I will try to make the blocks the same way as the cap-strips, mill a groove and chamfer the side..
Ouch, almost got myself in trouble. The cap-strips run all the way from LE to TE !! Even though the nose section of the wing is covered with plywood! Good to check, and check again. Which means I have to make the ribs complete, and slide them over the spars. No problem, but it shows you got to pay attention.